Yamada Joseki – A Strategic Response to Ranging Rook
The Yamada Joseki (Left Silver-57 Rapid Attack) is a dynamic Static Rook strategy that targets Ranging Rook formations, especially the Fourth File Rook. This article focuses on the Left Silver-57 Rapid Attack version, which aims to seize the initiative early by advancing the left silver and using timely pawn pushes. Learn how to apply it against the 3-2 Silver formation.
Setting Up the Yamada Joseki Against Ranging Rook
Before committing to this strategy, first confirm that your opponent is playing Ranging Rook (mainly Fourth File Rook). Players using this strategy typically open their bishop’s diagonal early and place their rook in a flexible position, preparing for counterplay.
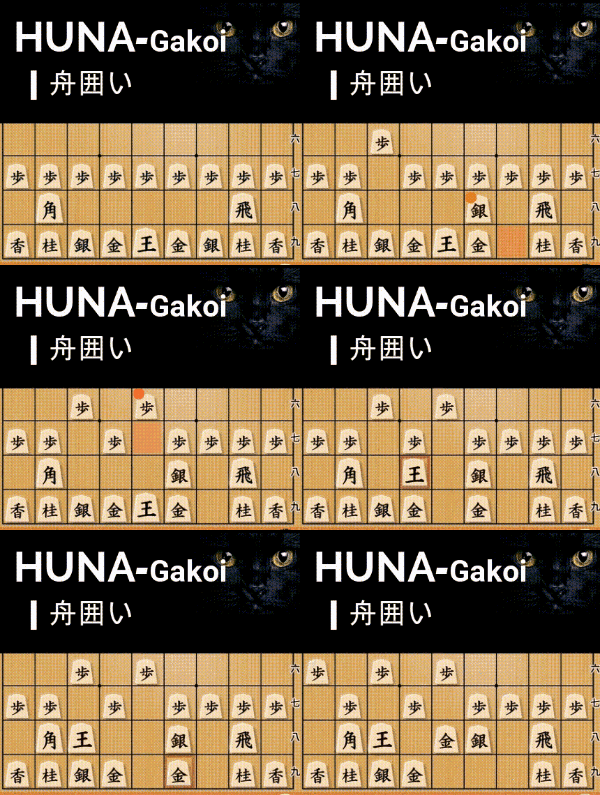
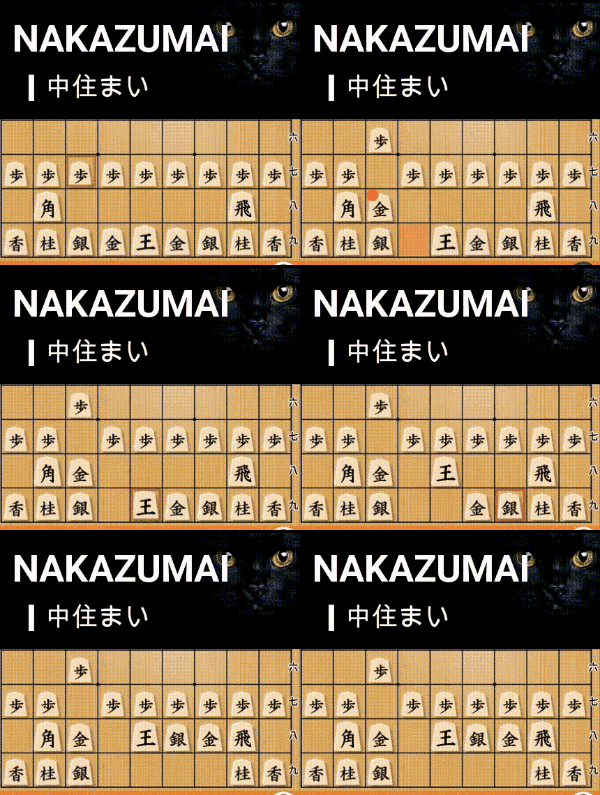
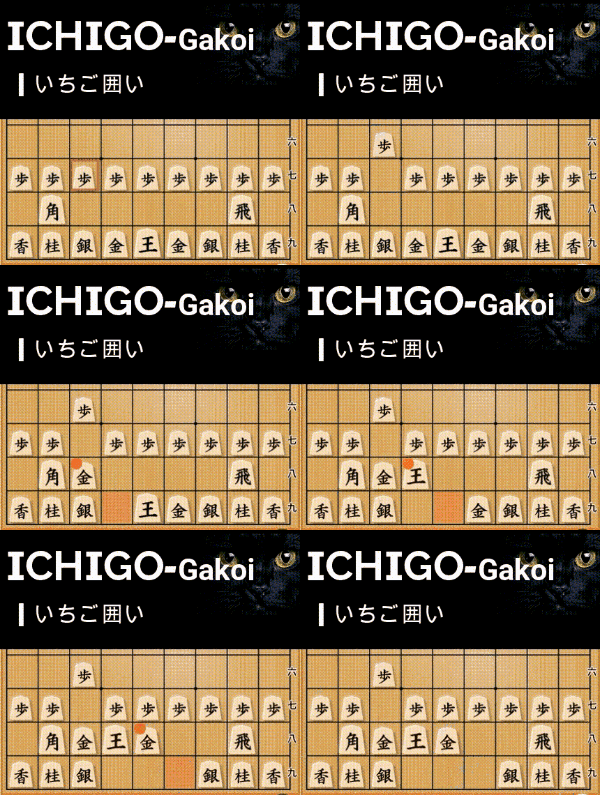
In response, you should prioritize king safety by constructing a solid Boat Castle (Funagakoi) before launching your offensive. Once your defense is in place, the core idea of the Yamada Joseki is to rapidly push your left silver (S) forward, forcing your opponent into a defensive position.
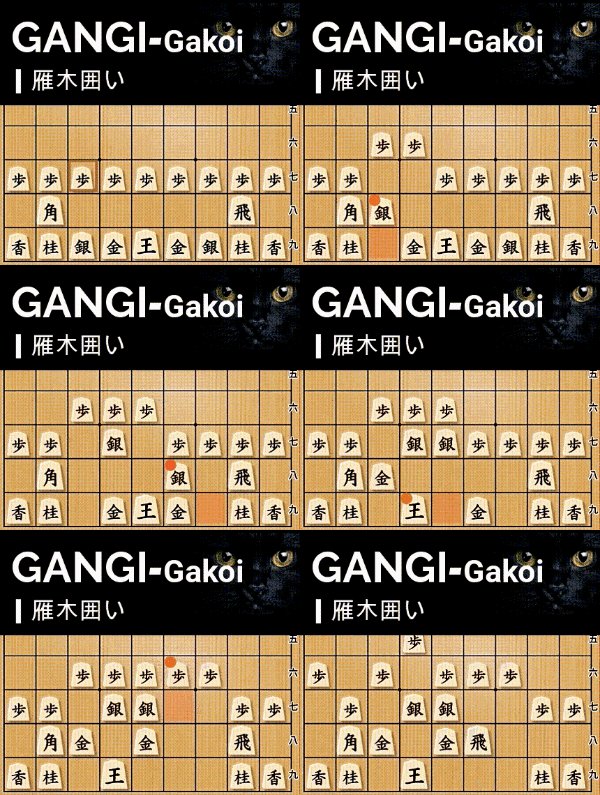
This approach is a variation of the well-known Climbing Silver strategy, but instead of moving straight forward, the silver advances diagonally—earning it the nickname Diagonal Climbing Silver.
➡️ Want to learn how the Right Silver Attack works? Check out this guide: [here]
How to Execute the Yamada Joseki
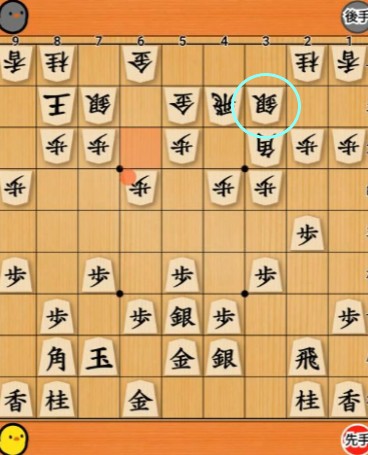
Your attack plan depends on the positioning of your opponent’s left silver. In this article, we’ll focus on how to break through the 3-2 Silver formation, one of the most common structures in Ranging Rook strategies.
➡️ If your opponent uses the 4-3 Silver formation, refer to this separate guide: [here]
Breaking Through the 3-2 Silver Formation
The 3-2 Silver Formation is a common defensive structure in Fourth File Rook positions. To dismantle it effectively, Yamada Joseki follows a specific move sequence:
1️⃣ Push the 3rd-file pawn (▲35P) – This forces an exchange and weakens your opponent’s defensive setup.
2️⃣ Advance the left silver to 4-6 (▲46S) – This key move pressures the opponent’s position while maintaining flexibility.
3️⃣ Prepare for bishop exchanges – Trading bishops at the right moment can give you an advantage in mobility and initiative.
Now, let’s explore two key variations depending on how your opponent reacts.
Variation 1: If Your Opponent Pushes 4-5 Pawn (△45P)
If your opponent immediately pushes △45P, they’re trying to challenge your silver’s advance while opening their bishop’s diagonal for counterplay.
📌 How to Respond:
- Exchange bishops first (▲88B → △88B+) to avoid being forced into an unfavorable trade.
- After the trade, push your silver to 3-5 (▲35S), maintaining the offensive.
- Look for a strong bishop drop at 3-2 (▲32B), aiming to create a powerful attack with a promoted bishop (horse).
- Once you’ve established a bishop + rook attack, continue pressing with moves like ▲41R, targeting weak points in your opponent’s camp.
At this point, you have the initiative, and your pieces are well-coordinated for an aggressive assault.
Variation 2: If Your Opponent Pushes 3-6 Pawn (△36P)
If your opponent tries to push △36P, their plan is to prevent your silver from advancing while setting up their own counterplay.
📌 How to Respond:
- Don’t capture the pawn immediately. Instead, prepare for a future exchange.
- Your opponent will likely continue with △45P, trying to gain control of the center.
- At this moment, exchange bishops proactively (▲88B → △88B+).
- Now, instead of pushing forward aggressively, drop a bishop at 8-8 (▲88B)—a key defensive move that prepares for counterplay.
Here’s why ▲88B is important:
- It prevents the opponent’s △33B counterattack.
- It keeps the balance between offense and defense.
- It ensures your attack remains strong without overextending.
After this, your main objective is to break through on the 2nd file with ▲24P. But don’t rush—your opponent still has tricks up their sleeve.
A Complex Battle: The Final Breakthrough
As the game progresses, the battle intensifies. Your opponent will look for ways to counter your attack, using their bishop’s diagonal and pawn pushes to create resistance.
📌 A Key Tactical Idea:
- When the opponent drops a bishop at 5-4 (△54B), don’t rush with ▲24P immediately.
- Instead, move your rook to a safer position (▲26R) first, avoiding potential traps.
- If your opponent plays passively (e.g., waiting moves like △12L), then launch the decisive attack ▲24P!
In the final phase, your goal is to force your opponent’s rook into a passive position and create a powerful attack with your available silver, rook, and bishop.
Final Thoughts: Mastering the Yamada Joseki
The Yamada Joseki is a fast and aggressive Static Rook counter against Ranging Rook setups. It requires precise timing, but when executed correctly, it puts the opponent under immediate pressure.
Unlike slower Counter-Ranging Rook strategies that focus on defense, this opening seizes the initiative early and doesn’t give the opponent time to build a comfortable setup.
That said, mastering Yamada Joseki requires practice. Try playing from both sides to understand the strengths and weaknesses of this formation.
📝 Which side do you prefer—Static Rook or Ranging Rook?
Test both perspectives and see which style suits you best!
Next Steps
💡 Want to learn more about Static Rook attacks?
➡️ Check out our guide on the Right Silver Attack [here].
➡️ Check out our guide on how to attack the 4th File Rook 4-3 Silver formation [here].
💡 Looking for defenses against Climbing Silver?
➡️ Read our article on Countering Climbing Silver [here].


