Shikenbisha Basics: Four Key Silver Positions
In 4th File Rook (Shikenbisha), adapt your silver’s position to counter your opponent’s strategy. Learn about the 7th, 6th, and 5th rank silver formations to enhance your gameplay.
Overview of 4th File Rook Strategy
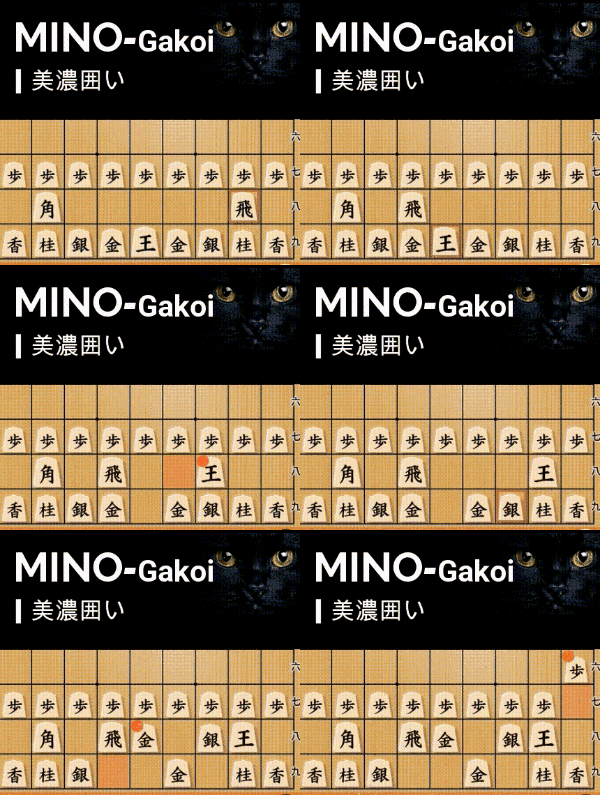
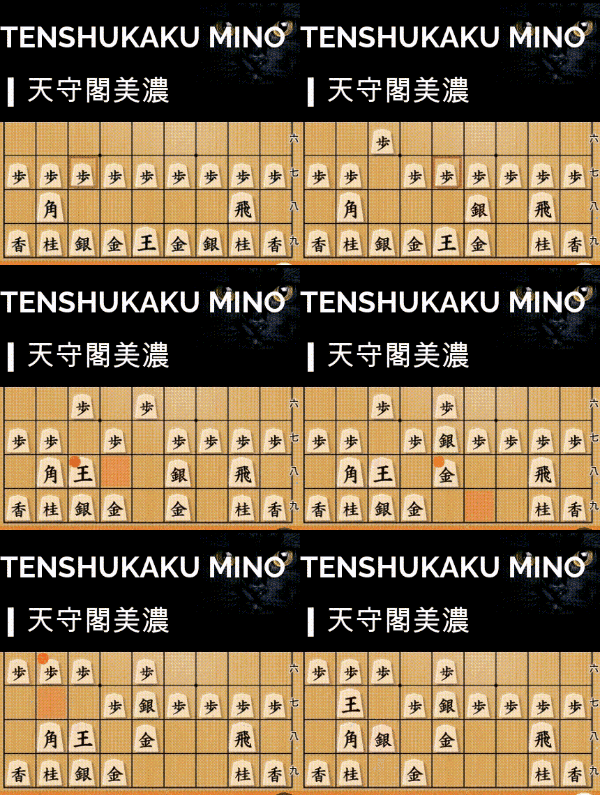
4th File Rook, or Shikenbisha, revolves around positioning your rook on the fourth file (counting from the left). By doing so, you block your opponent’s bishop’s diagonal and focus on building a solid defense. This strategy belongs to the Ranging Rook family, emphasizing patient play, strong defense, and counterattacks.One essential aspect of this setup is constructing a Mino castle to protect your king. The hallmark of 4th File Rook is the ability to patiently respond to an opponent’s attack, exchange major pieces effectively, and leverage its robust defensive structure to gain an edge in endgame scenarios.
What is “Sabaki”?
In 4th File Rook, the main goal is to create balanced exchanges of attacking pieces. This technique, known as “Sabaki”, involves trading active pieces with your opponent, particularly rooks, to reach a favorable position. A strong defense combined with effective piece exchanges allows 4th File Rook players to gain the upper hand in open attacks.
The Four Key Silver Formations
1. 7-8 Silver Formation (7八銀型)
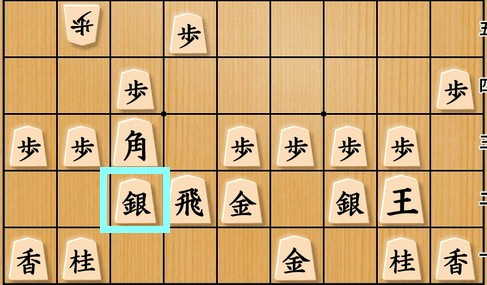
This position is ideal for beginners. The silver stays on the 7th rank, maintaining the basic 4th File Rook structure.
Plan: Push the pawn to the 6th file (▲6五歩) to open the bishop’s diagonal and extend your rook’s range. This move activates two major pieces simultaneously and is an effective way to launch an attack.
Why It Works: It’s straightforward, making it a perfect starting point for those new to 4th File Rook.
2. 6-7 Silver Formation (6七銀型)
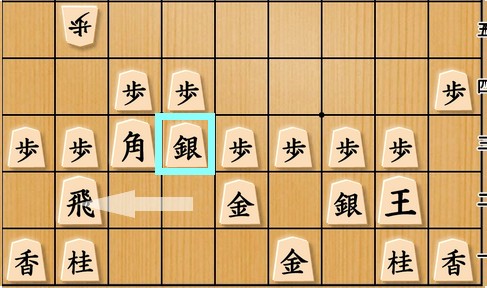
This is the most common and balanced position in 4th File Rook. The silver supports flexible play and prepares for rook exchanges.
Plan: Shift the rook to the 8th file to challenge your opponent’s rook. By forcing an exchange, your solid defense will shine.
Recommendation: Once comfortable with the 7-8 Silver Formation, master this one to handle more advanced scenarios.
3. 6-6 Silver Formation (6六銀型)
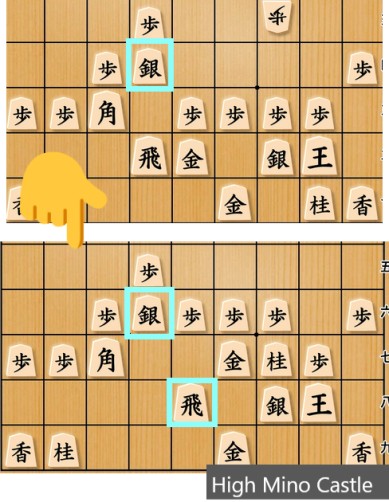
This aggressive setup is used against opponents who play defensively, such as Static Rook strategies.
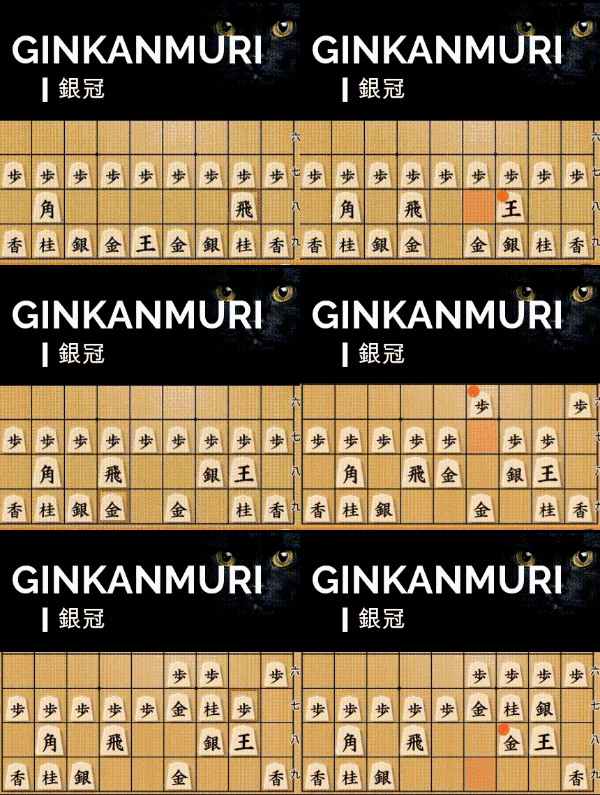
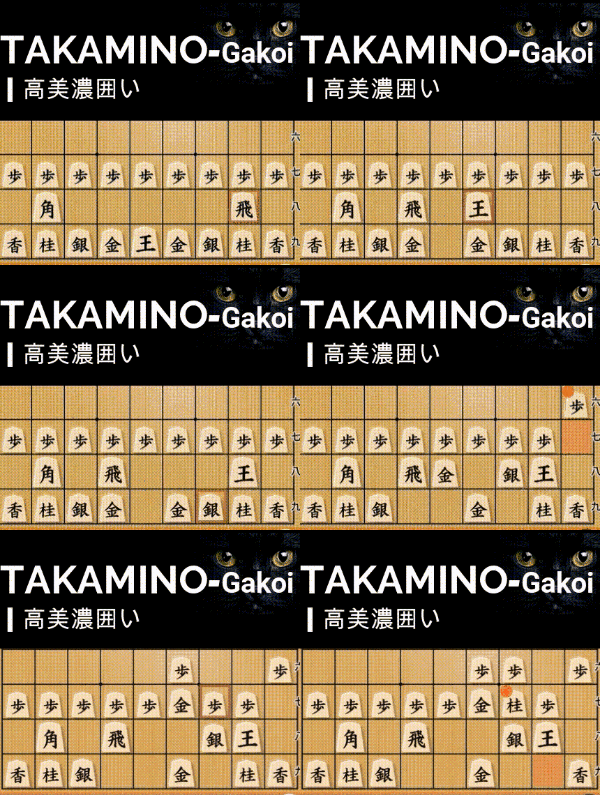
Plan: Push the silver forward to pressure your opponent’s pawn structure, imitating the Climbing Silver tactic. This position is particularly effective when combined with a High Mino Castle, as it offers flexibility to transition into a Central Rook strategy. By repositioning the rook to the center file (5th file), you can create a strong coordinated attack involving the rook, bishop, and silver targeting the 5th rank.
Strengths: This proactive position allows for continuous offensive pressure, leveraging the power of High Mino’s defensive structure and the ability to pivot into aggressive formations.
💡Pro Tip:
Learn more about the Climbing Silver strategy, which is a well-known tactic in Static Rook openings and can also be applied effectively in 4th File Rook. Check out our detailed guide on Climbing Silver to master its fundamentals.
4. 5-6 Silver Formation (5六銀型)
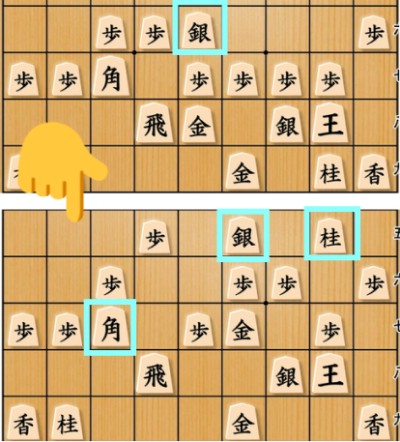
The most advanced configuration, this position focuses on attacking the right side of your opponent’s board.
Plan: Once you’ve completed a High Mino Castle, advance the silver to the 5th rank and combine it with your knight and bishop for a synchronized assault. This setup is particularly effective against Static Rook strategies, offering a direct attack on the opponent’s king.
Key Insight: While unconventional, this position can be a game-changer in dynamic situations.
Conclusion
Understanding these four silver formations gives you the flexibility to adapt your 4th File Rook playstyle to various opponents and scenarios. Whether you’re a beginner or a seasoned player, experimenting with these configurations will enhance your strategy and make your play more dynamic.


