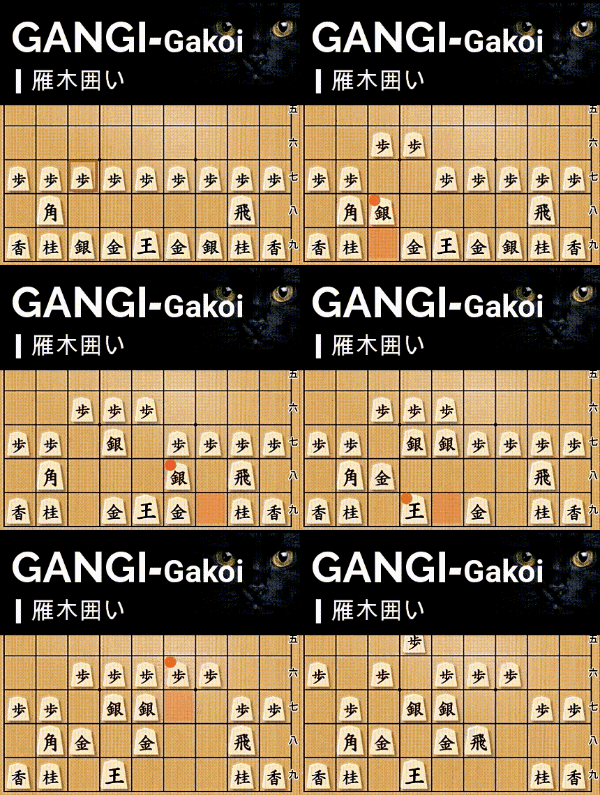
Fully Developed Ishida Rook vs. 6-3 Silver Static Rook
Discover the key strategies for playing the Fully Developed Ishida Formation against the 6-3 Silver Static Rook setup. Learn how to break through your opponent’s defense using well-established attacking patterns.
Piece Development: Fully Developed Ishida Formation vs. 6-3 Silver Static Rook
Ishida Rook is a popular Third File Rook strategy where the rook is positioned on the 7th file. Within this category, there are various formations, but when the rook is floated to the 6th rank and the bishop is placed diagonally from the 9th file, it is called the Fully Developed Ishida Formation.
Against this setup, the Static Rook side typically develops a silver to 6-3 as a standard response. Their goal is to restrict the 7th file pawn push and prepare for a potential counterattack.
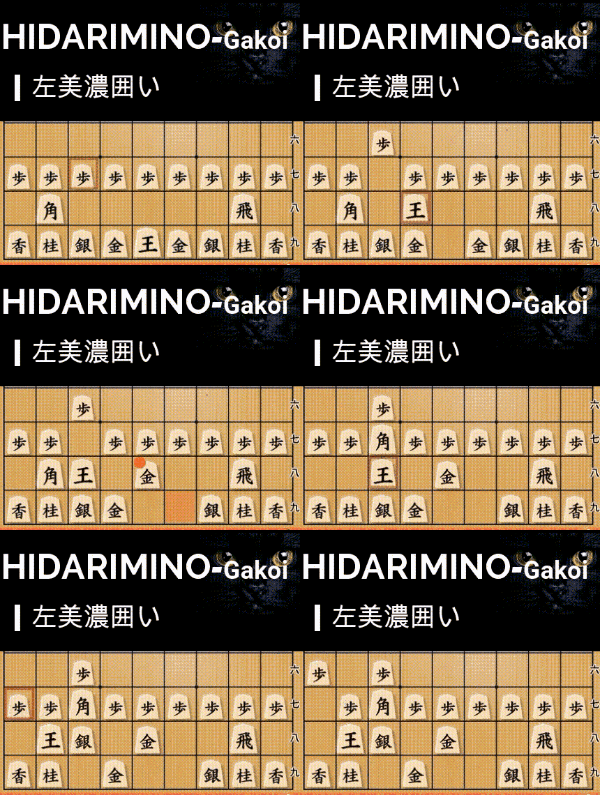
In this positional battle, both sides aim for strong castle formations: Left Mino Castle for the opponent and a Mino Castle for you. Once both players complete their setup, the game transitions into a slower-paced battle. This structure appears frequently in real games.
Breaking Through the 6-3 Silver Formation
A common attacking approach against the 6-3 Silver setup is to advance ▲5-6 Silver, followed by ▲6-5 Pawn to initiate an attack.
When the opponent captures with △6-5 Pawn, you have two primary options:
- Capturing with the Silver (▲6-5 Silver)
- Capturing with the Knight (▲6-5 Knight)
Let’s explore both approaches.
Option 1: Capturing with the Silver – A Direct Attack
Capturing with ▲6-5 Silver allows for a straightforward assault on the 6th and 7th files. The key idea is to push ▲7-4 Pawn (△Same Pawn), then follow up with ▲6-4 Pawn, making use of the bishop’s diagonal control.
If the opponent attempts to block with △6-4 Pawn, you can confidently push ▲7-4 Pawn again. This sequence forces an opening on the 7th file, giving you a strong attack.
At this point, the opponent might reposition their rook to 6-2 (△6-2 Rook), preparing for counterplay. This move threatens a rook promotion (△6-9 Rook Promote) after an exchange on 7-4.
However, you can neutralize this counterplay by advancing ▲6-4 Silver. With the bishop’s diagonal control, the opponent’s rook movement is restricted.
From here, you have two strong attacking options:
- ▲7-3 Silver Promote → △Same Knight → ▲7-4 Rook, gaining control of the 7th file.
- ▲5-3 Silver Promote → △Same Gold → ▲Same Bishop Promote, increasing your material advantage.
By leveraging both rook and bishop coordination, your attack becomes overwhelming.
Option 2: Capturing with the Knight – A Sacrificial Strike
An alternative approach is to jump ▲6-5 Knight, creating a dynamic attack. At first glance, this move might seem risky, as White can respond with △6-4 Pawn, forcing your knight into an awkward position.
However, this is exactly what you want!
If the opponent challenges your knight, you can sacrifice it with ▲7-3 Knight Promote. Even if they capture the knight with △Same Knight, you can follow up with ▲7-4 Pawn, continuing the offensive.Although this attack temporarily loses material, the momentum shifts in your favor immediately. The opening created on the 7th file allows for a decisive breakthrough, making the knight sacrifice a worthwhile investment.
Conclusion
Against the 6-3 Silver Static Rook, both ▲6-5 Silver and ▲6-5 Knight provide strong attacking chances. The key is to coordinate your rook and bishop effectively, ensuring that your opponent cannot easily escape your pressure.By mastering these attacking patterns, you can confidently handle one of the most common Static Rook defenses against the Fully Developed Ishida Formation.
Related Articles:


