Techniques for Breaking the Mino Castle (2) The Kobin Attack
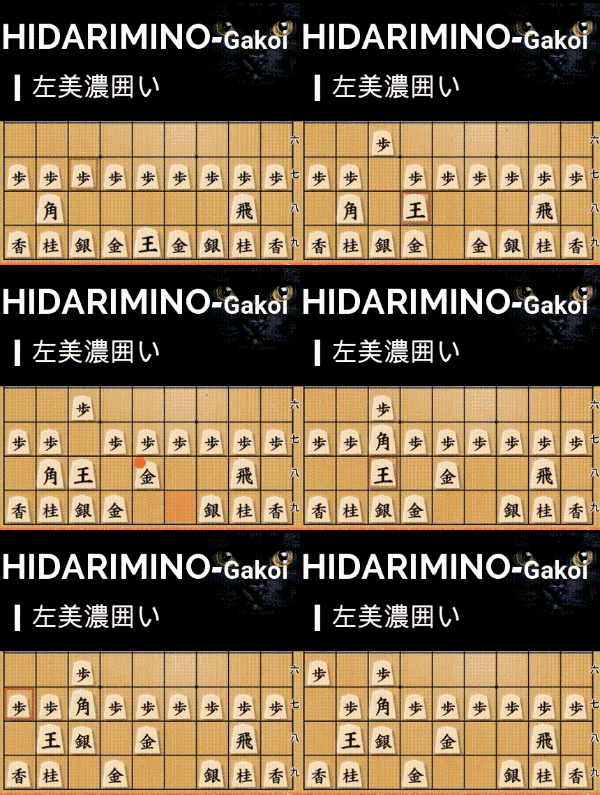
The Kobin Attack is a powerful technique for breaking the in shogi. This strategy exploits diagonal weaknesses using a knight and bishop to deliver a decisive blow.
Basic Technique: Breaking the One-Sided Mino
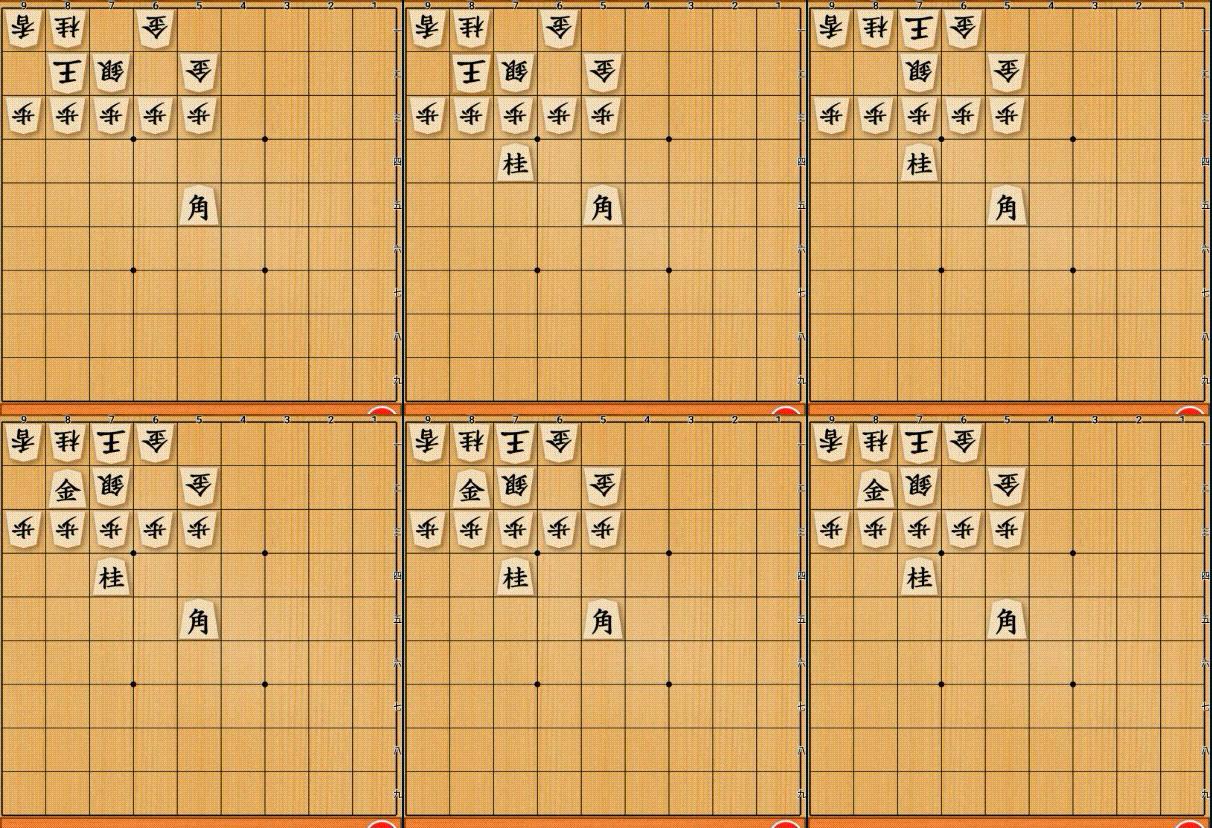
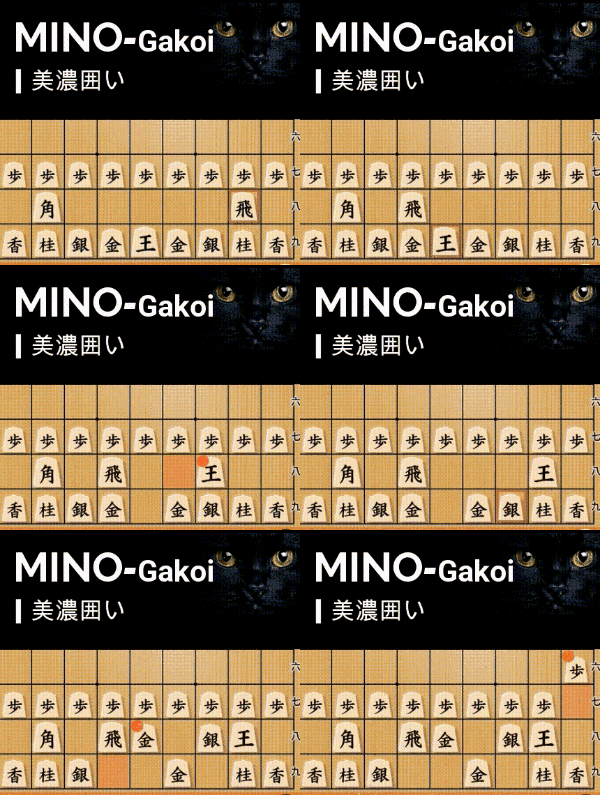
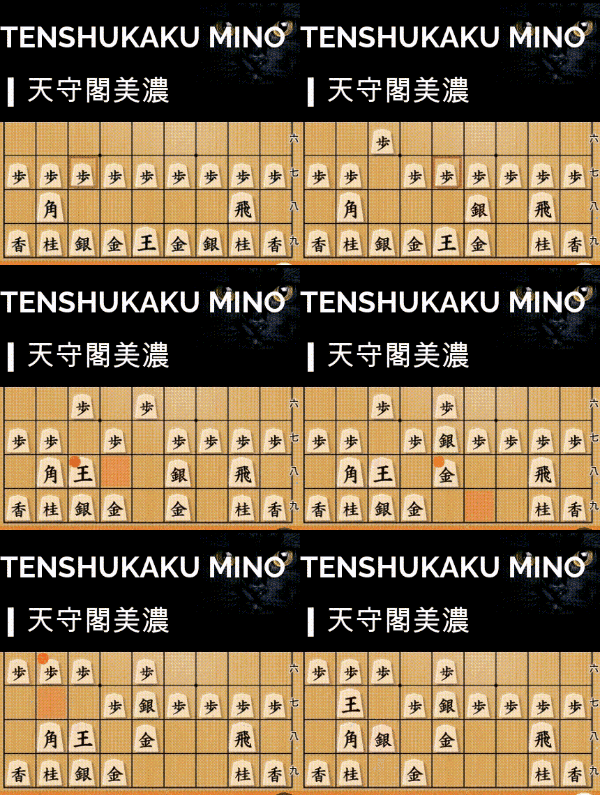
The Mino Castle is one of the most popular defensive structures used by Ranging Rook players. Let’s start by looking at the fundamental form of the Kobin Attack against this castle.
The first step is to bring your opponent’s king into your bishop’s diagonal. From here, the key move is to launch an attack using your knight.
▲N-76 (Knight to 7-6) puts the opponent’s king in check. If the opponent captures the knight with △P-76 (Pawn to 7-6), your bishop’s diagonal will open directly to the king, leading to an immediate attack. Therefore, the opponent must move the king instead of capturing the knight.
In shogi, “Kobin” refers to a tactic where a piece attacks the opponent’s piece from the diagonal upper square. Specifically, when targeting the king with such a move, it is called the “Kobin Attack.”
No matter where the opponent’s king moves, ▲G-82 (Gold to 8-2) delivers checkmate. However, if you have a silver instead of a gold, the king might escape to △K-92 (King to 9-2), so be cautious.
How to Defend Against the Kobin Attack
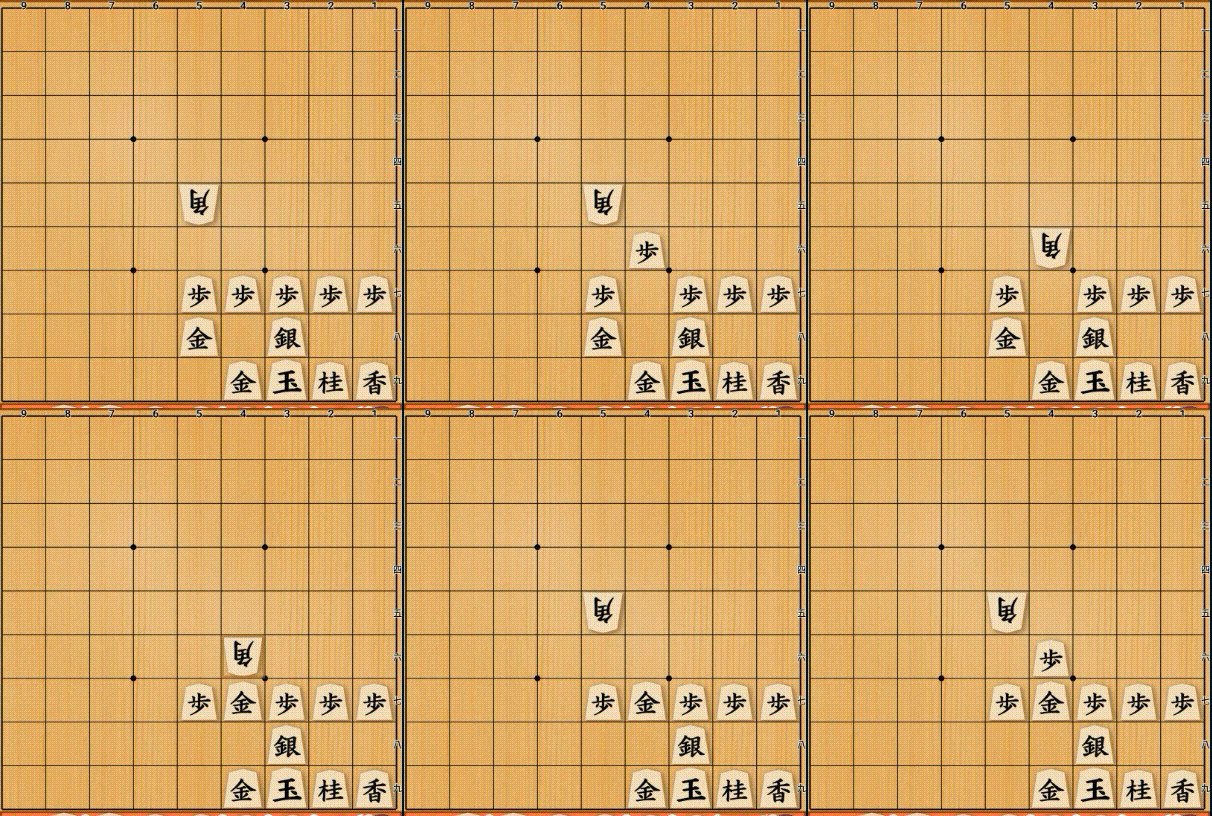
So far, we’ve explored the basic technique of the Kobin Attack using a bishop and knight. But what if you are the one castling with the Mino formation and your opponent attempts this attack?
Surprisingly, a simple move like ▲P-46 (Pawn to 4-6) can neutralize the attack. At first glance, it seems like the opponent can respond with △B-46 (Bishop captures on 4-6), but then you can counter with ▲G-47 (Gold to 4-7).
This move not only targets the opponent’s bishop but also prevents a knight jump to 3-6. If the opponent retreats the bishop, reinforcing with another ▲P-46 (Pawn to 4-6) strengthens your defense even further.
Sacrificing the Rook to Obtain a Gold
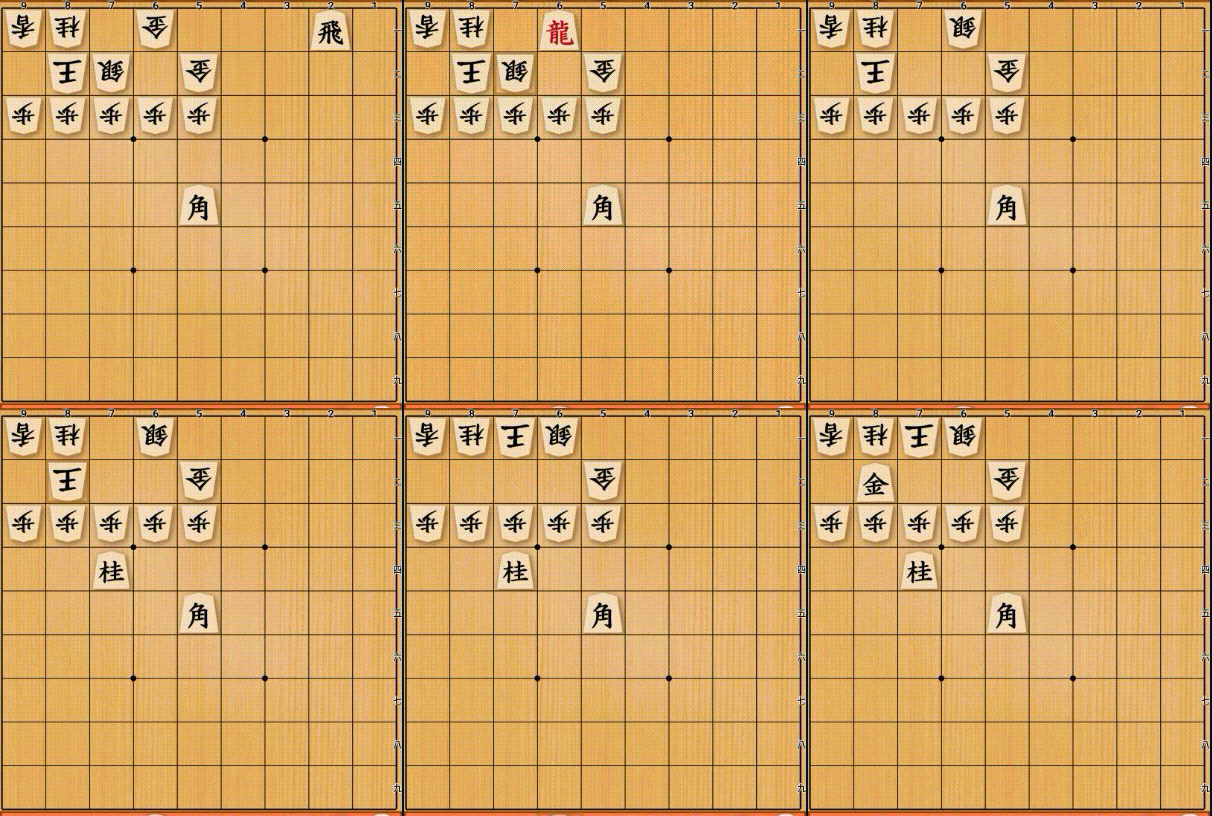
Now, let’s consider a situation where you want to continue your attack, but your only pieces in hand are a knight and a rook. What’s the best way to proceed?
The correct answer is to sacrifice the rook by dropping it onto ▲R-61 (Rook to 6-1), then promoting it to a dragon with ▲R*61+ (Rook promotion to Dragon on 6-1). This forces the opponent to capture with △S-61 (Silver to 6-1), allowing you to take the gold in hand.
In shogi, particularly in the endgame, having a gold piece is often more valuable than keeping a rook.
At this point, you may already see the winning sequence—▲N-74 (Knight to 7-4) follows the same checkmating pattern as before.
Using the Connected Knight Technique
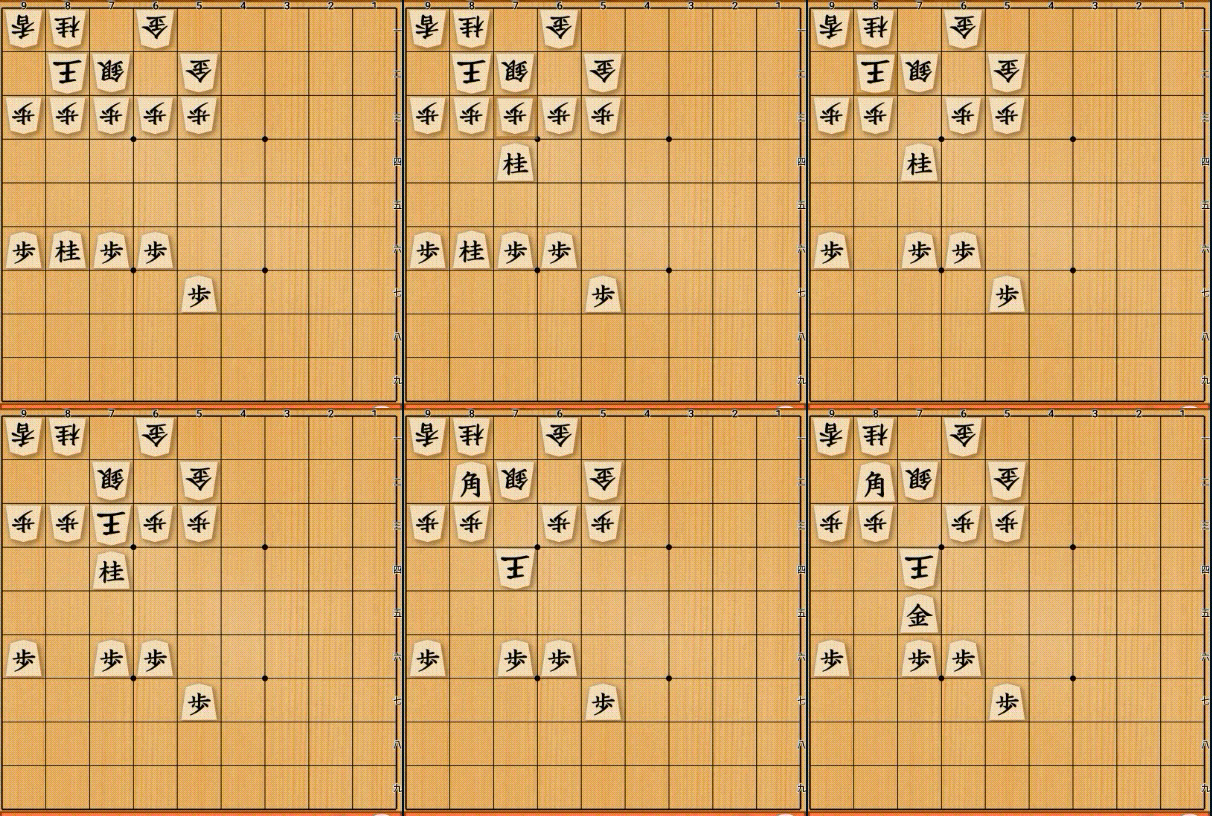
Finally, let’s look at a powerful knight maneuver involving two knights. In this position, you could apply pressure with ▲B-55 (Bishop to 5-5), but there’s a direct checkmate available.
The correct move is ▲N-74 (Knight to 7-4). If the opponent captures it with △P-74 (Pawn to 7-4), follow up with ▲N-74 (Another knight to 7-4), delivering check again.
If the opponent’s king moves downward, ▲G-82 (Gold to 8-2) delivers checkmate. If the king moves upward, play ▲B-82 (Bishop to 8-2) to restrict its escape path.
From here, no matter how the opponent responds, ▲G-75 (Gold to 7-5) will seal the game.This technique, known as the Connected Knight maneuver, is an advanced attacking method. For more details on knight tactics, check out the following article:
👉 [Knight Tactics and Techniques Overview]
Summary
✔️ The diagonal line is a weak point in the Mino Castle, making it vulnerable to the Kobin Attack.
✔️ A knight and bishop combination can create a deadly checkmate sequence.
✔️ If you lack a gold piece, consider sacrificing a rook to obtain one.
✔️ The Connected Knight technique can be a powerful way to break through defenses.


